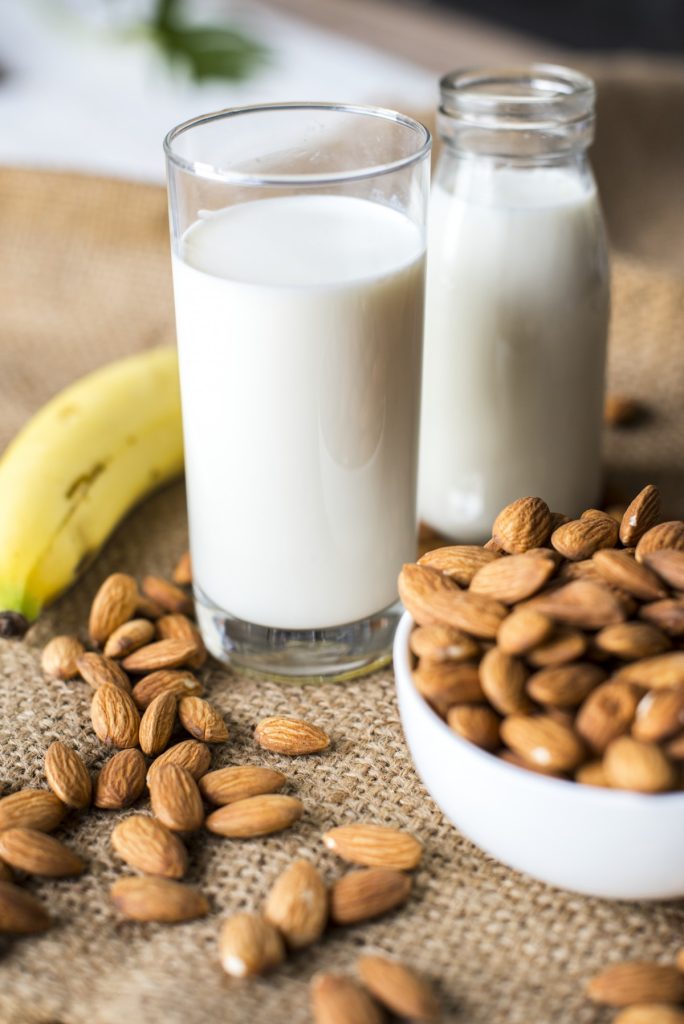
Vegan Dairy Free Almond Milk Recipe
Equipment
- Blender
- Nut milk bag or fine-mesh strainer
- Bowl
- Jar
Ingredients
- 1 cup raw almonds
- 4 cups filtered water
- Maple syrup to taste
- Vanilla extract to taste
Instructions
- Soak the almonds in filtered water overnight.
- In the morning, rinse and strain the almonds.
- Combine the soaked almonds with 4 cups of filtered water in a high-speed blender.
- Blend for at least 1 minute until you get a creamy, frothy white milk.
- For a sweeter milk, add maple syrup and vanilla extract and blend for another 10 seconds.
- Strain the milk through a nut milk bag or a fine-mesh strainer.
- Store in an airtight jar in the refrigerator for up to 4-5 days.
Notes
- You can use a 4:1 ratio of water to nuts.
- Soaking the almonds activates enzymes and makes the milk easier to digest.
- You can skip the maple syrup and vanilla extract if you want an unsweetened milk.
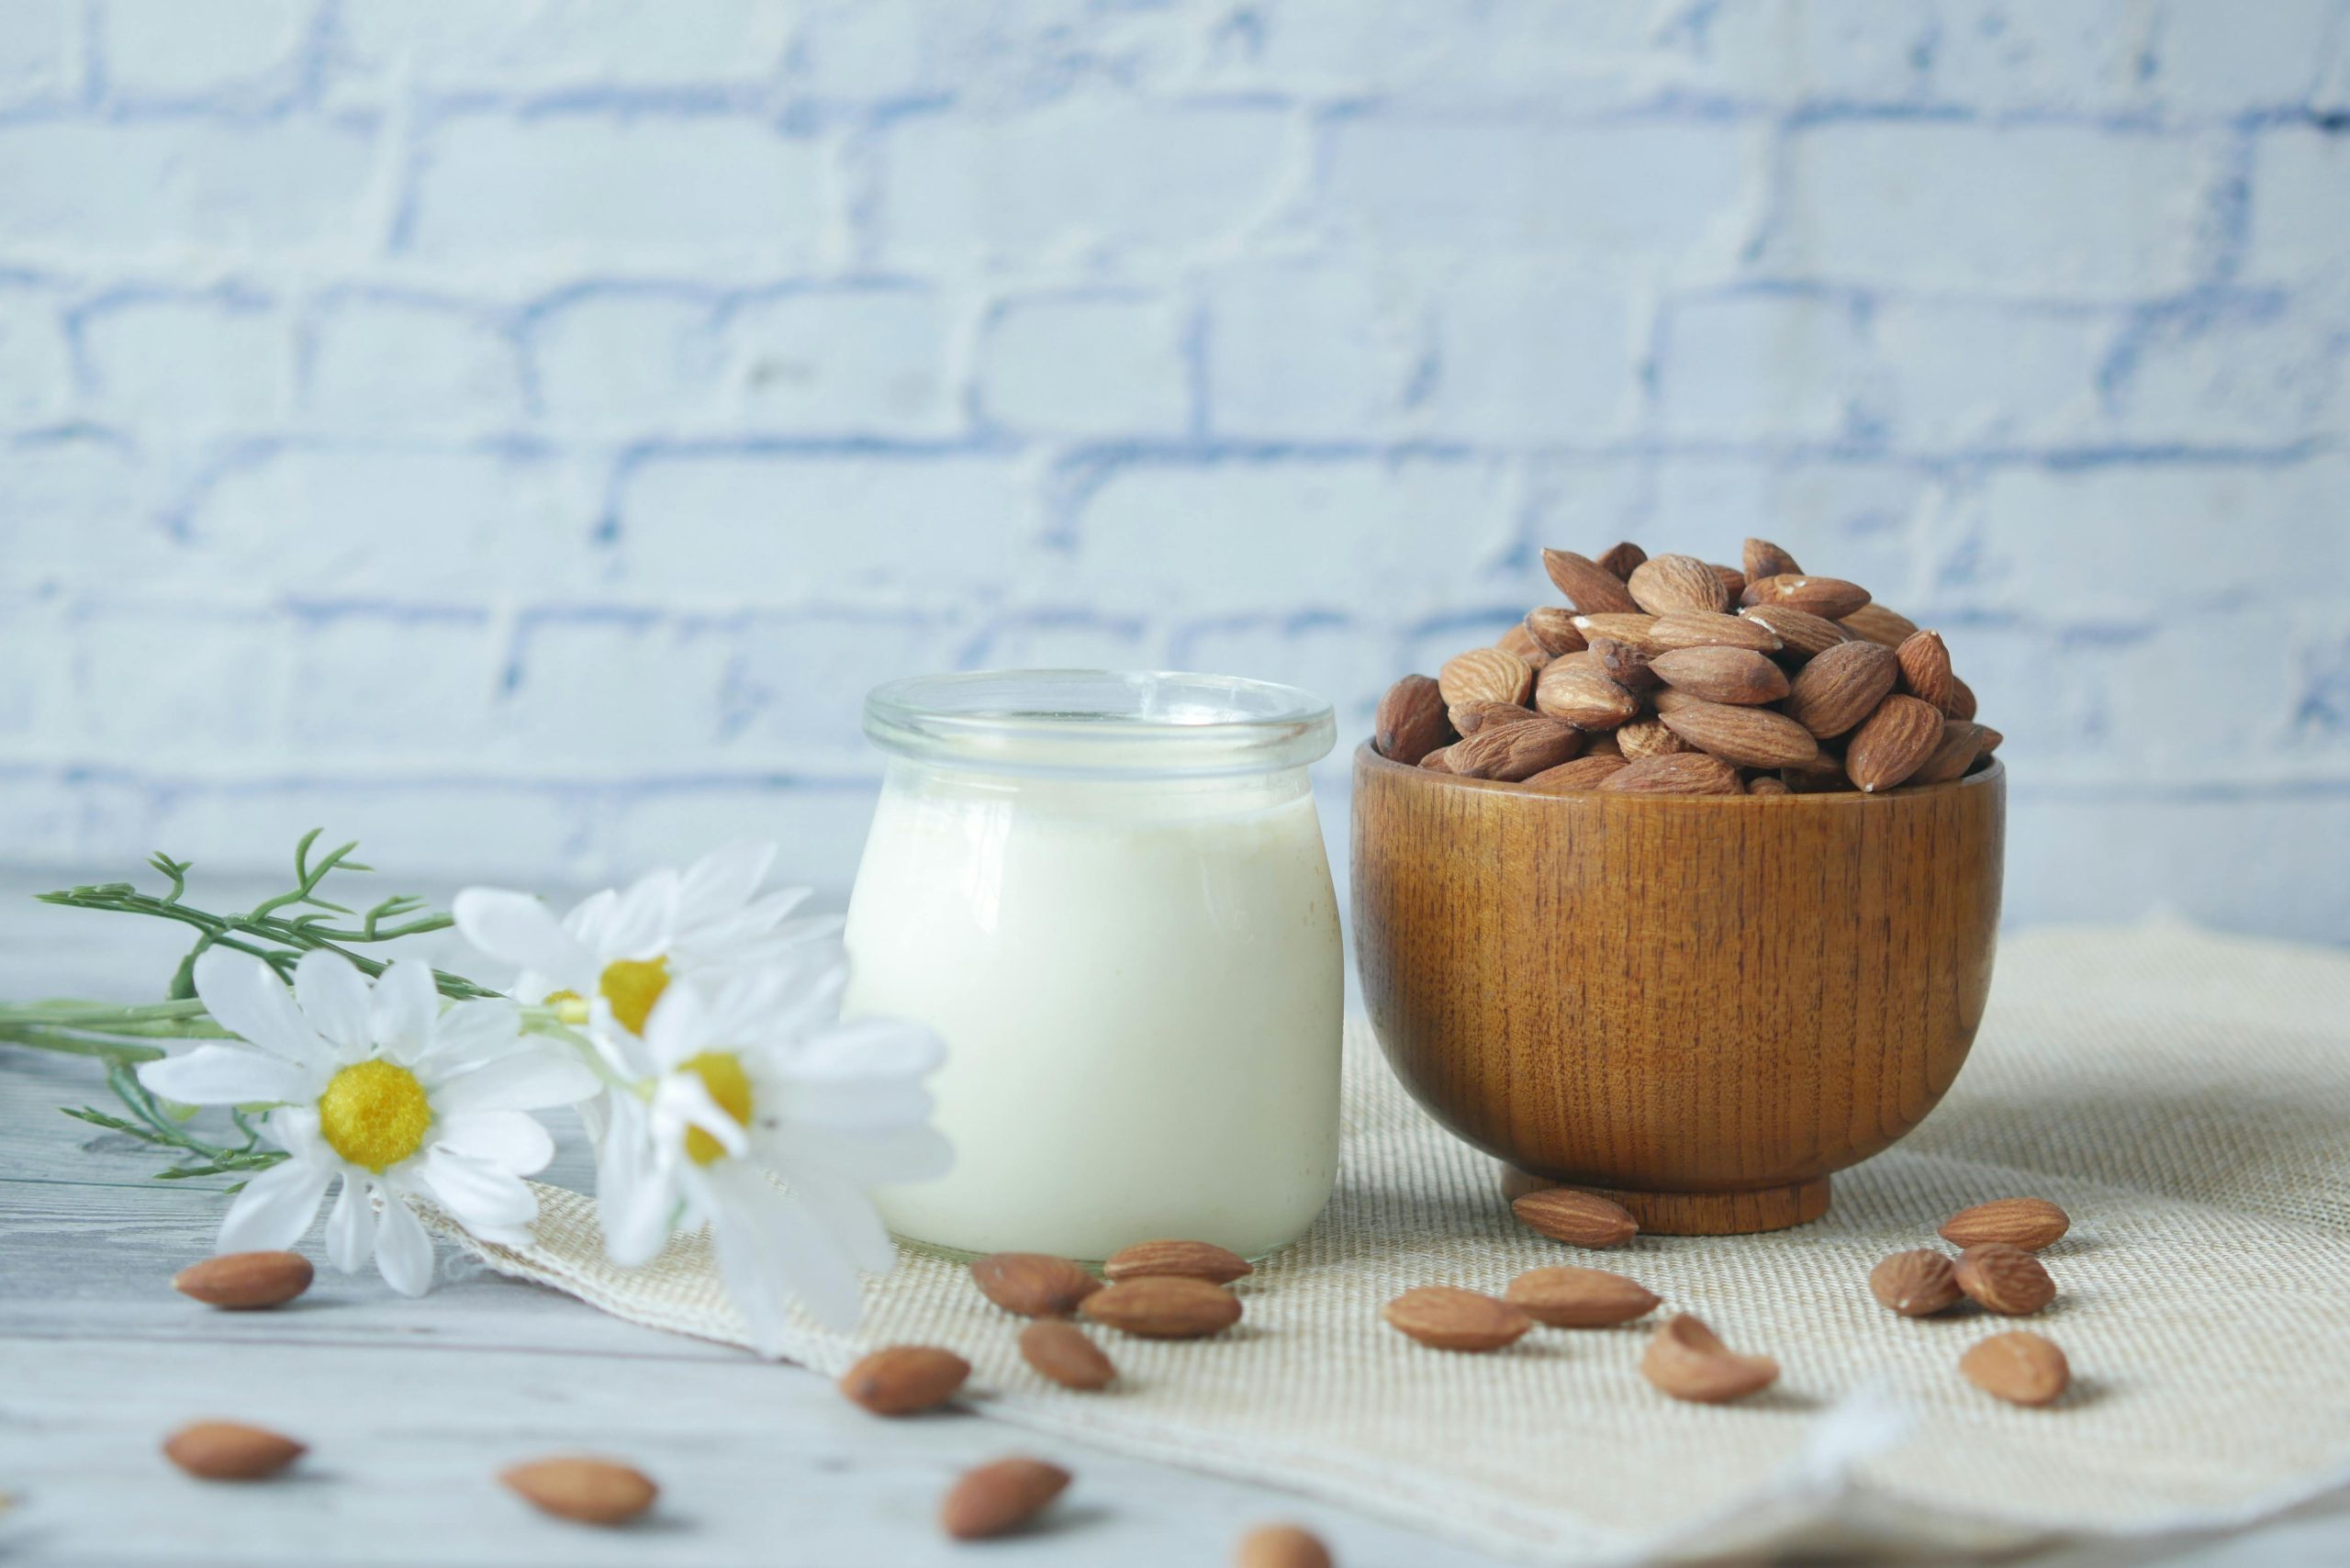
Hey there, plant-powered pals! Ever noticed how almond milk is taking over the dairy aisle? It’s creamy, dreamy, and totally plant-based – what’s not to love? But you know what’s even better? Making your own almond milk at home. Not only is it ridiculously easy, but it’s also way tastier, fresher, and kinder to your wallet (and the planet!).
Why DIY When You Can Buy? Trust Me, It’s Worth It
Now, I get it. You’re probably thinking, “Why bother making almond milk when I can just grab a carton at the store?” Well, my friend, let me tell you, the homemade version is a whole different ballgame.
First of all, it’s like a flavor explosion in your mouth. Store-bought almond milk can be kind of bland, but homemade? It’s bursting with nutty goodness and a silky smooth texture that’ll make you want to chug it straight from the jar. Plus, you get to be the boss of your ingredients, so you can ditch those weird additives and sweeteners lurking in the store-bought stuff.
But wait, there’s more! Making your own almond milk is surprisingly budget-friendly. Those little cartons can add up, but with just a handful of almonds and some water, you can whip up a batch that’ll last you days. And let’s not forget the environmental perks. No more cartons piling up in the recycling bin – just pure, delicious almond milk in your reusable glass jar. It’s a win-win for your taste buds and Mother Earth.
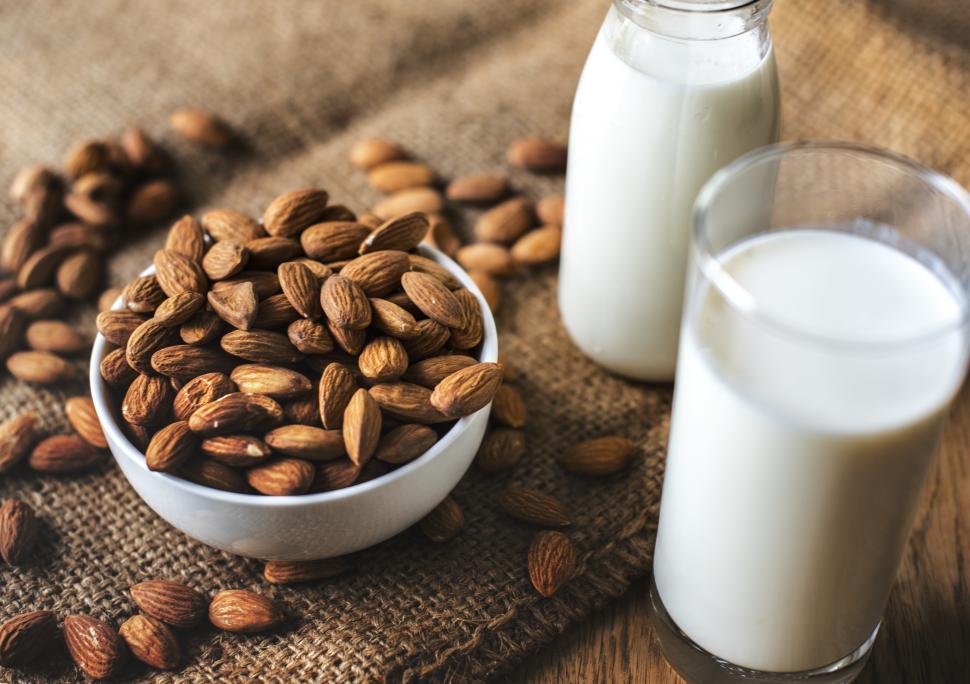
What You’ll Need: Simple Ingredients, Simple Tools
Ready to give it a whirl? Awesome! Here’s your shopping list:
- Raw Almonds: Think of these as the superstar of the show. We’re talking raw, unroasted almonds – no funny business here.
- Filtered Water: Tap water works in a pinch, but filtered water gives you a smoother, purer flavor.
- Flavor Boosters (Optional): Get creative! Dates add a natural sweetness, vanilla extract gives it a classic vibe, and a pinch of salt balances everything out. Feeling adventurous? Try a drizzle of maple syrup, a sprinkle of cinnamon, or even a dash of cacao powder.
- Equipment: Don’t worry, you don’t need a fancy kitchen setup. All you need is a trusty blender, a nut milk bag (or some cheesecloth/fine-mesh strainer), and a bowl for soaking.
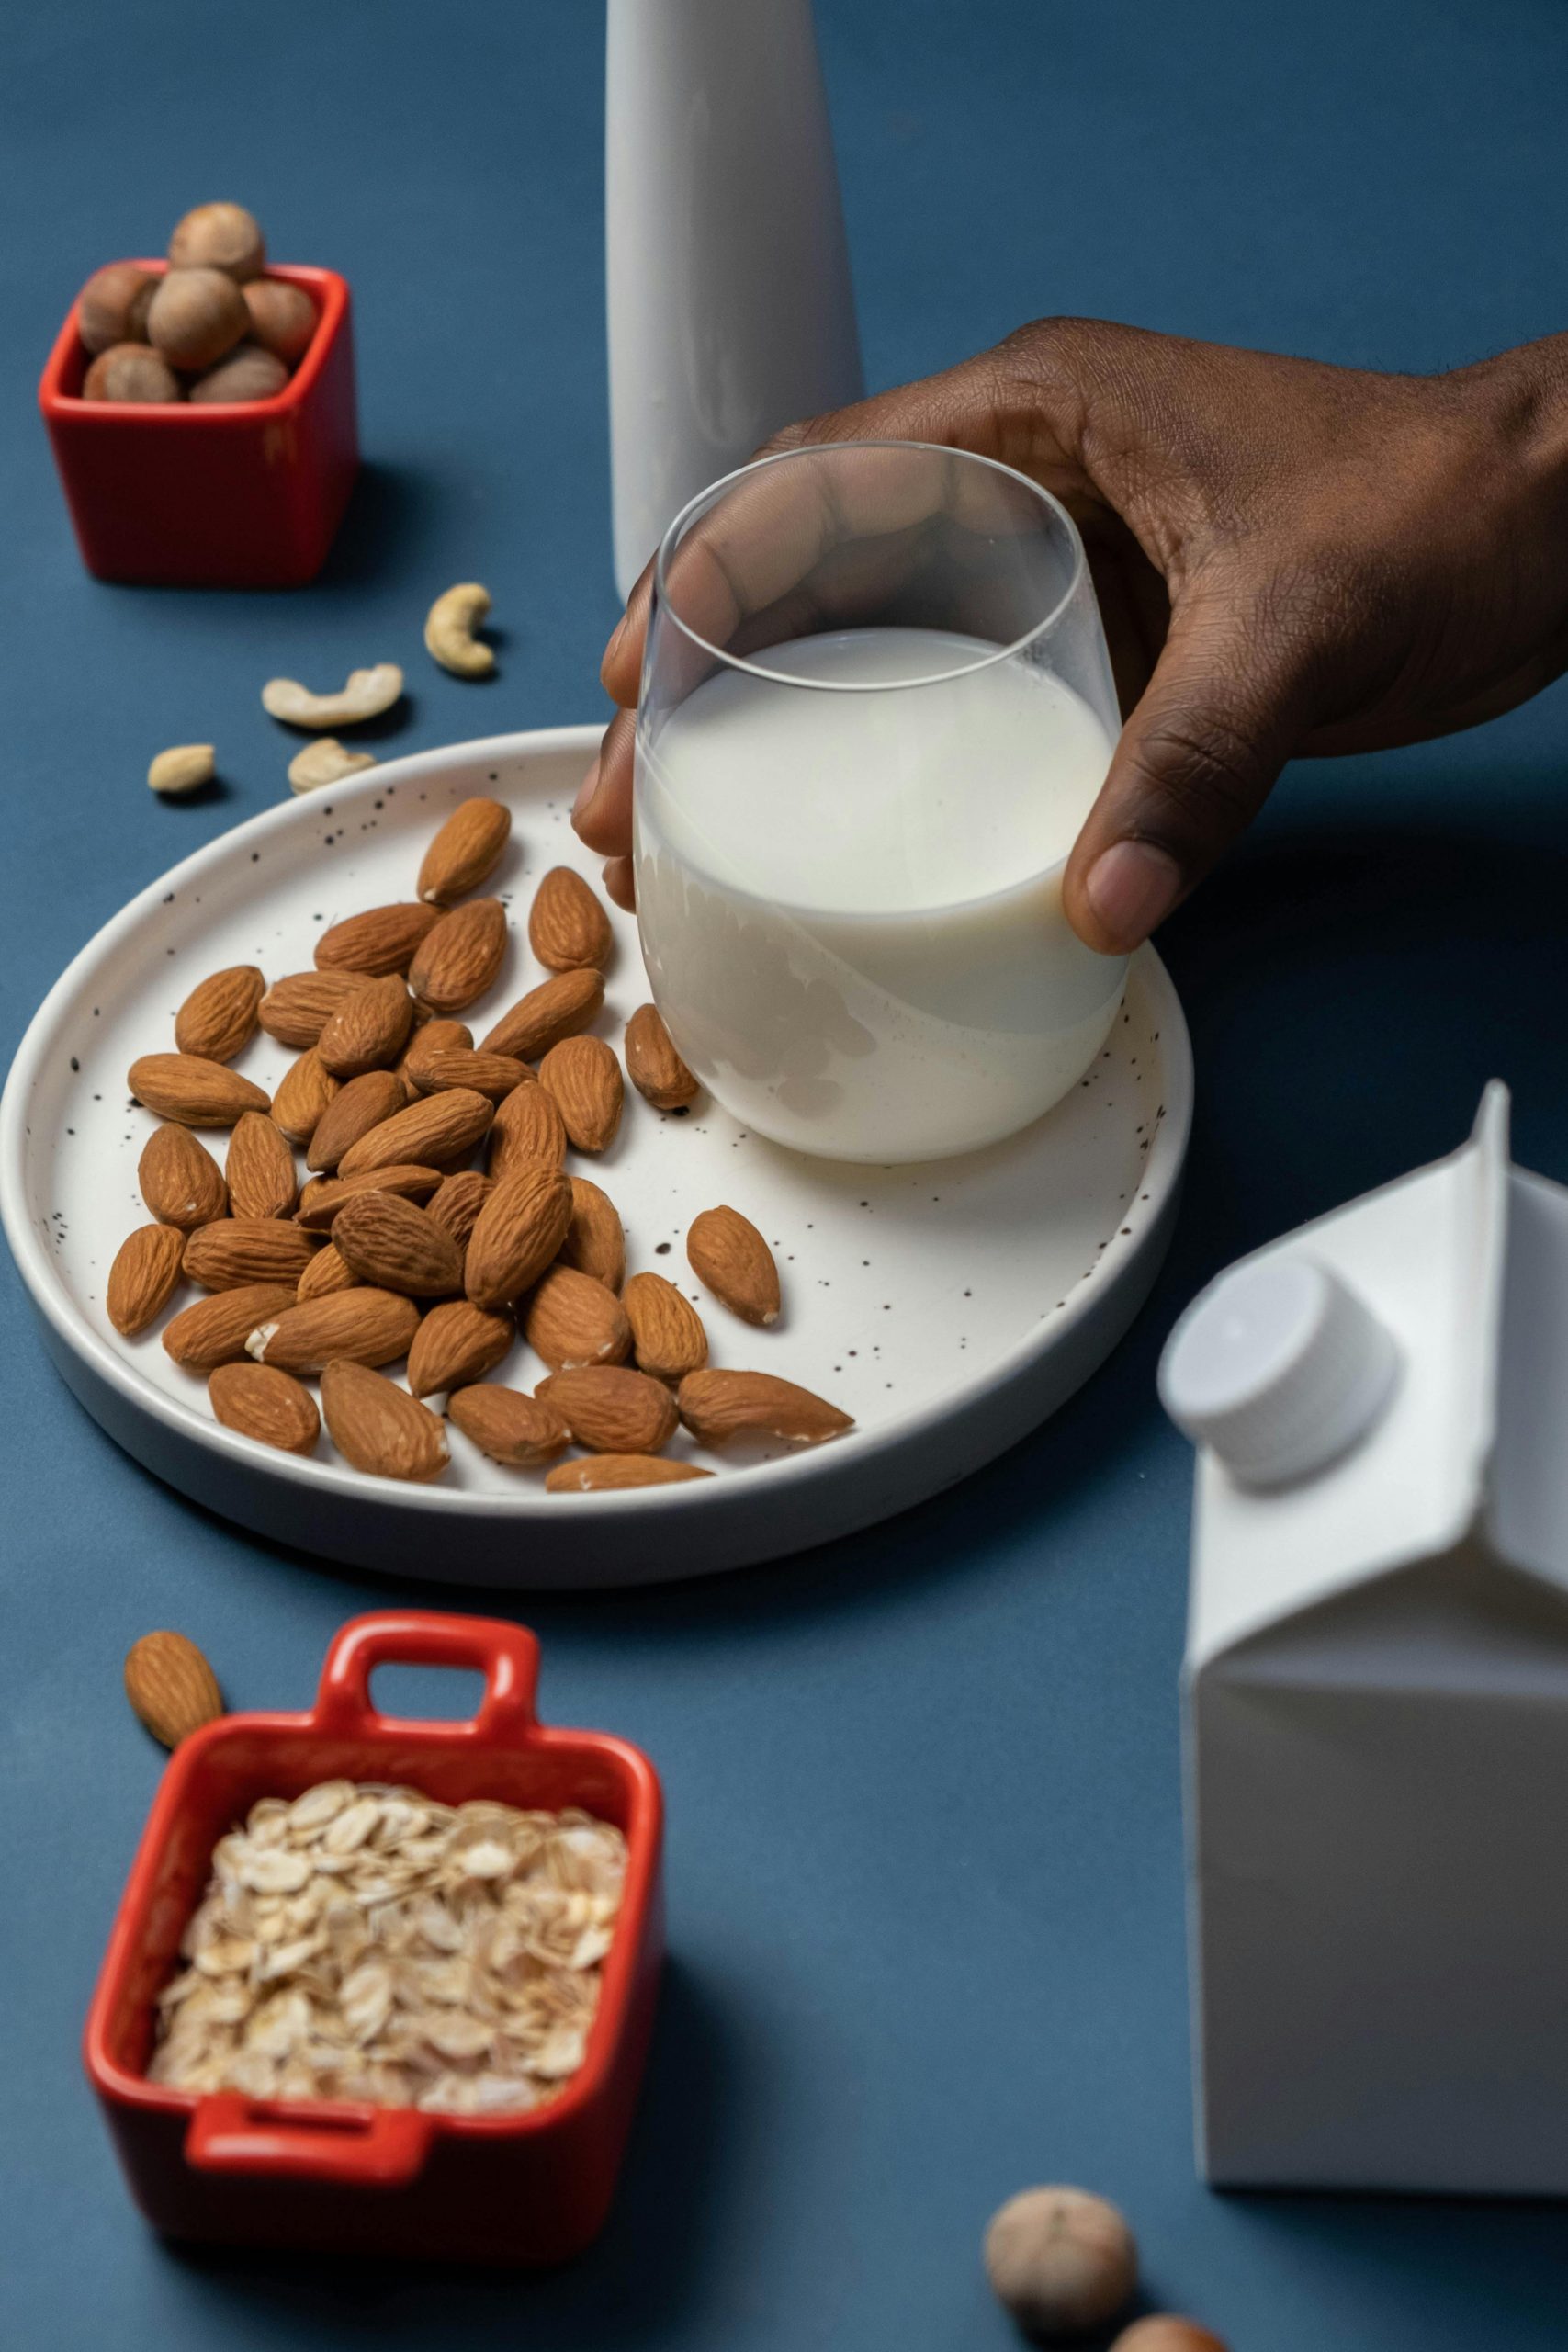
Your Almond Milk Adventure Begins: A Step-by-Step Guide
Alright, let’s get down to business. Here’s how to transform those humble almonds into creamy, delicious milk:
- Soak It Up: Start by giving your almonds a nice, long bath. Soak them overnight (8-12 hours) or speed things up with a hot water soak for about an hour. This little spa treatment softens them up and makes them easier to blend.
- Rinse and Repeat: After their soak, drain and rinse your almonds thoroughly. We want them clean and ready for their close-up.
- Blend It Like You Mean It: Now, it’s time for the magic to happen. Toss your soaked almonds, filtered water, and any flavorings you fancy into your blender. Blast it on high for a minute or two until it’s smooth and creamy. It should look like a milky white dream.
- Strain Away: Grab your nut milk bag (or trusty cheesecloth/strainer) and place it over a bowl. Carefully pour your blended mixture into the bag and squeeze like you’re hugging a teddy bear. This will separate the milk from the almond pulp (which, by the way, you can totally save for later – more on that in a bit).
- Store and Enjoy: Pour your freshly made almond milk into a clean jar or bottle and pop it in the fridge. It’ll stay fresh for about 4-5 days. Now comes the best part: pouring yourself a glass and savoring the fruits of your labor.
Pro Tips for Almond Milk Mastery
Ready to take your almond milk game to the next level? Here are some insider tips:
- Soaking Time: Play around with different soaking times to see how it affects the texture of your milk. Some folks like it extra thick and creamy, while others prefer it lighter.
- Flavor Frenzy: Don’t be afraid to experiment with different flavor combinations. You can go sweet with vanilla and dates, spice it up with cinnamon and nutmeg, or even try a savory version with herbs and spices. The possibilities are endless!
- Pulp Power: That leftover almond pulp is a treasure trove of nutrients. Don’t let it go to waste! You can use it in baking, add it to smoothies, or even whip up some homemade almond flour crackers.
Now go forth and conquer the world of homemade almond milk! I guarantee you’ll never look at those store-bought cartons the same way again.

Hello, I’m Elaria Jackson, the author behind Vegan Castle. I have a background in Nutrition Science and Culinary Arts. I’ve studied the benefits of a plant-based diet and its impact on health and the environment. I’ve attended various vegan cooking courses and workshops. Through Vegan Castle, I share easy weeknight meals and decadent desserts. I aim to be a valuable companion on your vegan journey.

